The soil here is pretty compacted and not very rich, so to grow food Sarah is relying on
hügel beds and planter boxes. Still had some salvaged cedar fence boards left over after building
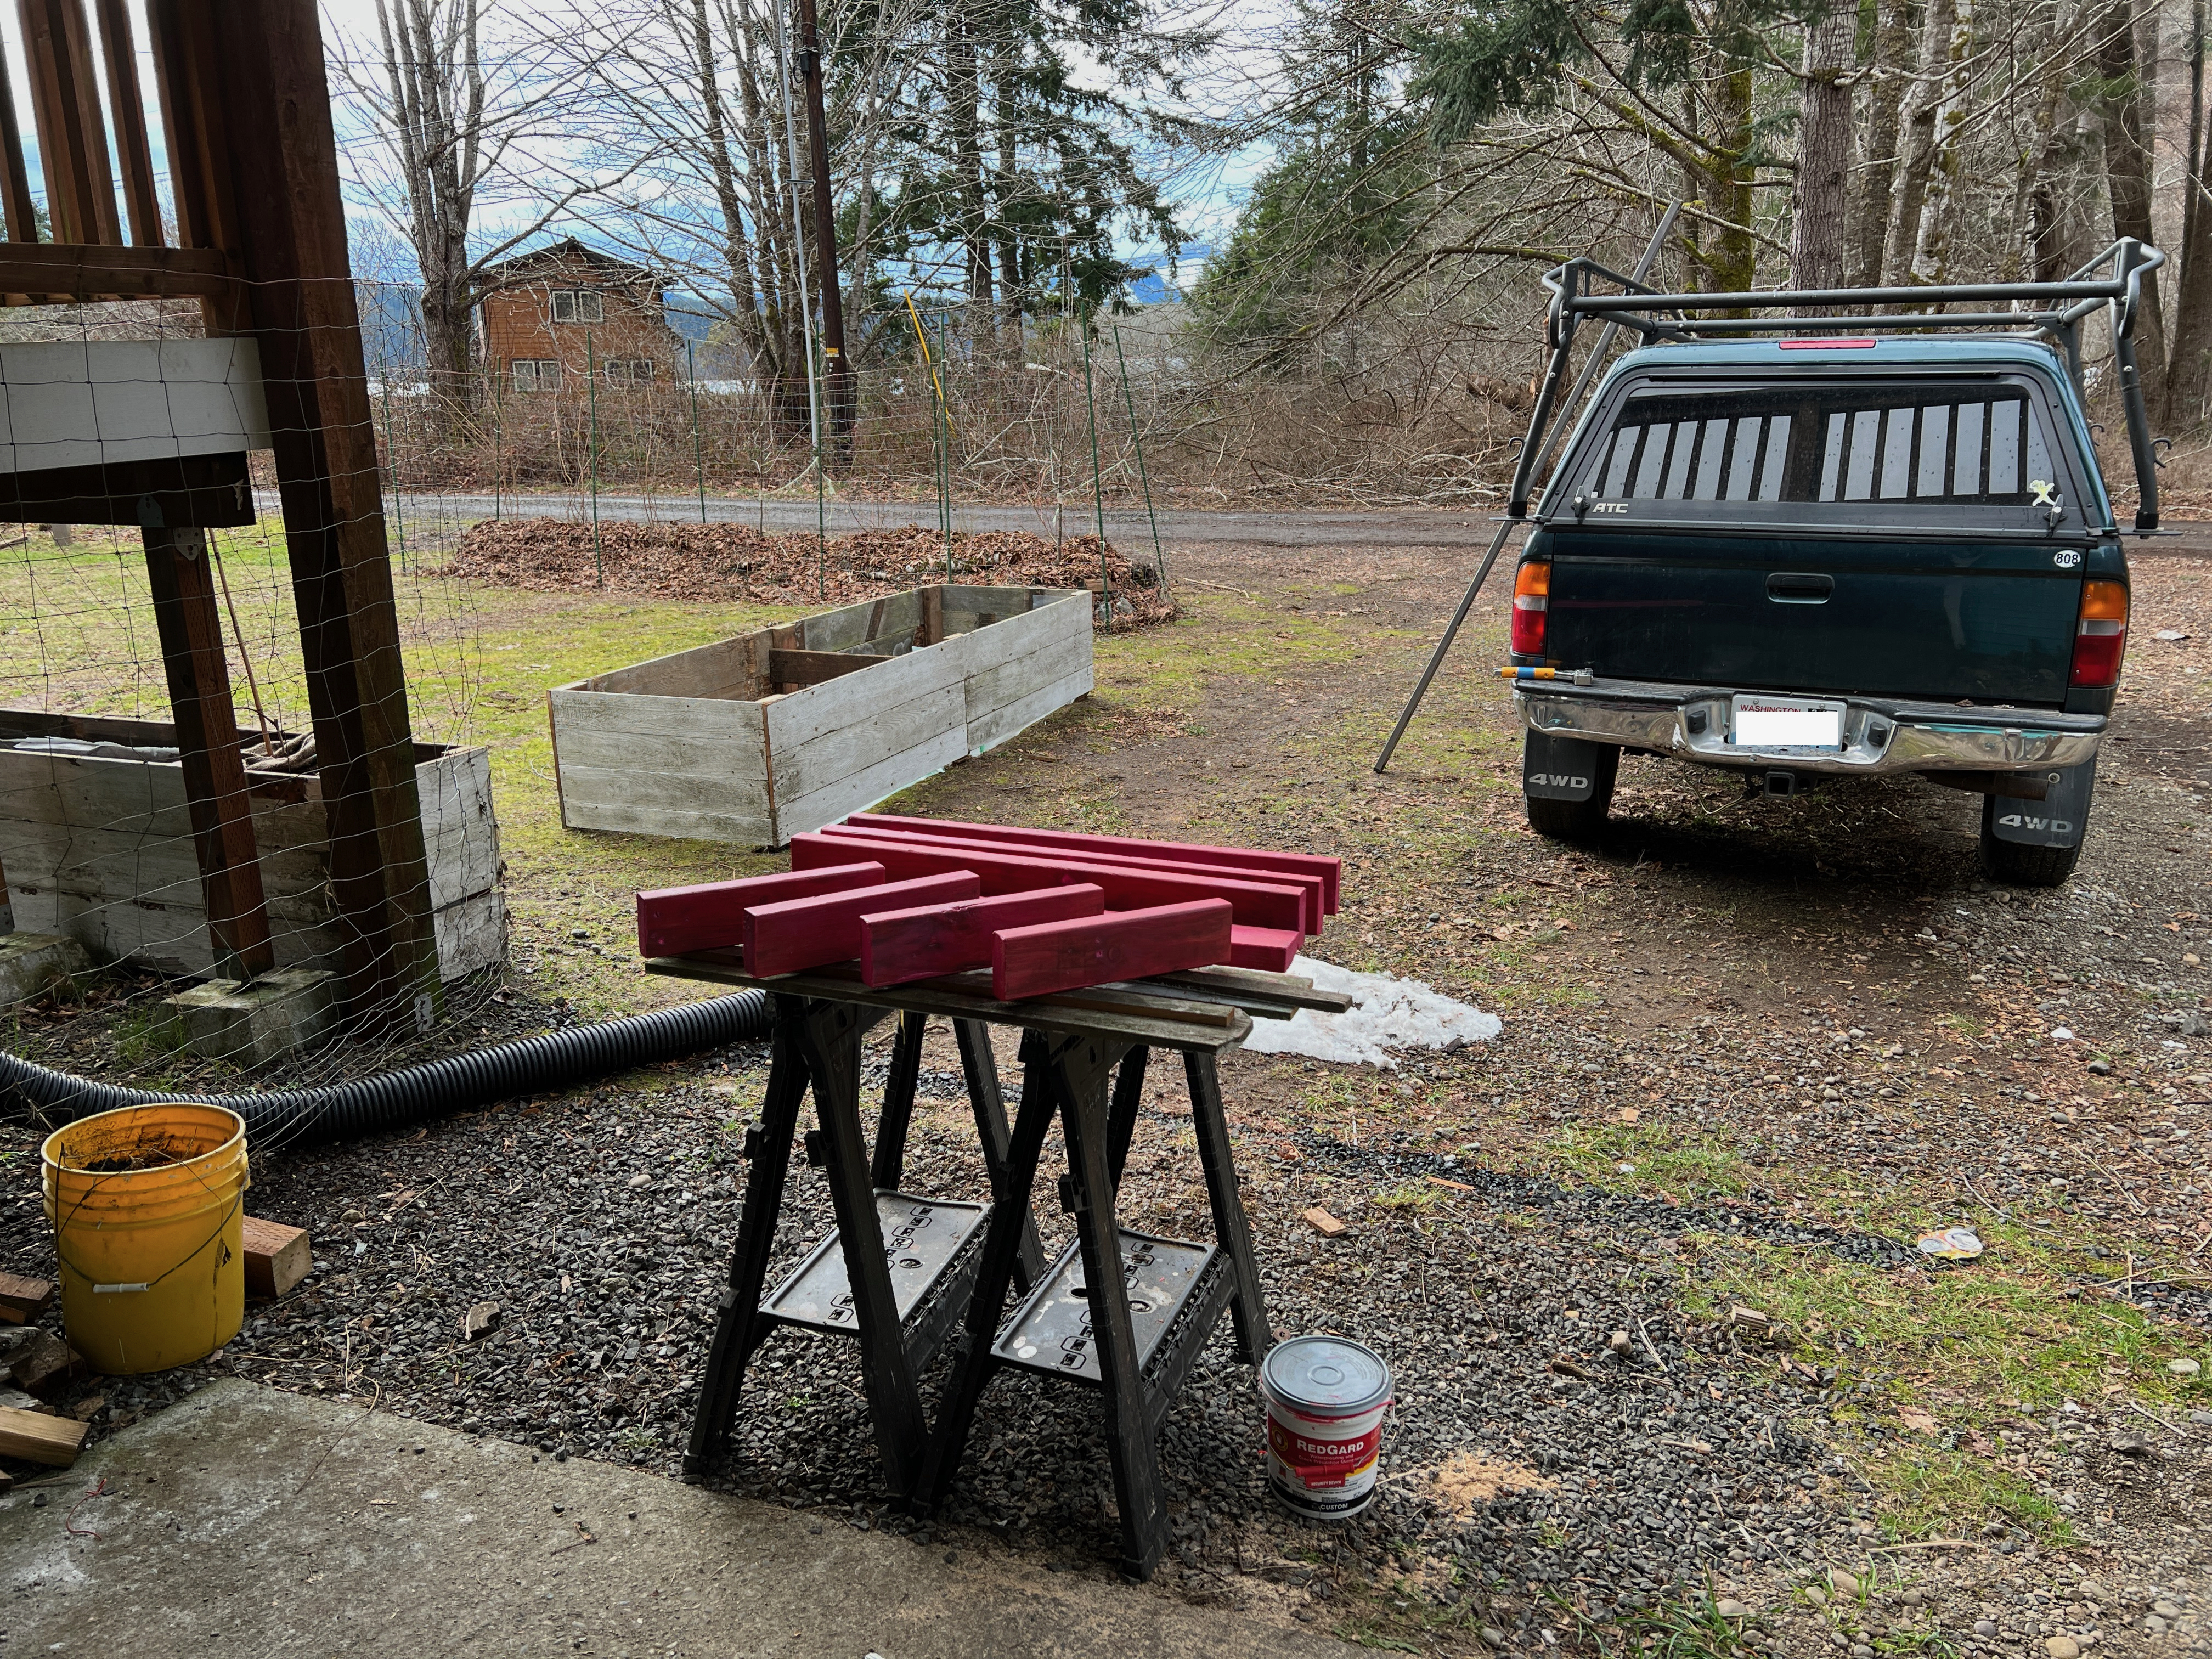
the first planter box, and for the framing I decided to reüze some pressure treated 2x6 deck joists that we found discarded in the weeds here. I know they were deck joists because they were rife with screws standing out about an inch, about one every three inches.
I set up a cutting and assembly station outside. At first I thought I'd just leave the screws in, and I cut the legs of the box to length in such a way to avoid the screws. But because the box would be lined with plastic sheeting, I decided to remove the screw tops after all to avoid tearing the lining. Cutting scores of screws with an angle grinder might seem laborious but it took me longer to edit this video than it did to zip them off.
Like the first time, I cut the cedar planks to length and assembled them into panels which I then put together in place. After getting the box relatively square and level, I stapled plastic to the inside and then added box braces made of waterproofed 2x4 reclaimed from an old chicken coop. (To waterproof, I painted the pre-cut members with Red Gard left over from a tile job, being sure to really saturate the porous end cuts.)
The finished box is 10 feet long by 3 feet wide and 21 inches high, ready to be filled from
the free dirt pile not 100 yards from here and then topped with our
Valentine's Day compost.
This kind of carpentry might be my favorite--outdoor work utilizing reüzed materials in a format that is loose but functional and somewhat aesthetic. The fact that we'll be feeding from it is an added bonus. Bon appétit!


Comments
Post a Comment